Showing posts with label breakfast. Show all posts

Thursday, January 21, 2021

Upside Down Caramelized Orange Cake

 People romance Chocolate, but I need a zing! A citrus zing, to be precise. If you ever wondered why restaurants feature lemon or orange desserts on their menu... Well, for people like me! Lemon in the summer and oranges in winter!! Aaah! There is something simply divine in that!

My love for oranges is evident in my previous posts. I've made a marmalade , a cake and even a Kheer! Each one delicious in it's own way. I even made a very potent Orange Wine, but more on that later. This morning as the heady aroma of oranges greeted me from the fruit bowl, my heart craved cake. Now, I could go back to any of the previous cake recipes, but where's the fun in that?! 

I wanted to try something new. Something that had not just that citrus hit, but also celebrated the gorgeousness of the fruit. The fact that I've been dying to try a caramelized upside down cake, may or may not have influenced my decision. I used the French Yogurt Cake as my starting point. The flavours in that are just so fresh and citrusy! But i wanted the cake more crumbier and dense, to hold against the orange slices. So a few changes and to my luck, I got an absolutely perfect Upside Down Caramelized Orange Cake. 

Ingredients:
Flour                        1 and 1/2 cups
Semolina                  1/2 cup
Baking Powder        2 tsp      
Baking Soda            1 tsp
Oil                            3/4 cup
Sugar                       1 cup   
Eggs                        2  
Yogurt                     1/4 cup
Oranges                   4 
Brown Sugar          7 Tablespoons

Method:
Pre-heat the oven to 180 C. Sift all the dry ingredients together. Brush a 9 inch springform pan with butter. Sprinkle the brown sugar all over the buttered base. Thinly slice 2 oranges and arrange them over the sugar. Zest the other 2 oranges and rub into the granulated sugar. Once the zest releases it's aroma, beat in the eggs. Once the batter looks thick and creamy, beat in the yogurt. Now add the oil, drizzling a little at a time and beating well with each addition. Gently fold in the dry ingredients. 
Extract 1/4 cup juice from the zested oranges and add it to the batter. Pour the batter over the prepared tin. Bake for 45 minutes. Let it cool before serving it up! 

Notes: You can substitute the Oranges with Kinnows or Mandarins or any other citrus fruits.
 

Tuesday, August 1, 2017

Almond Cheese Spread

We shook off the snow and tumbled into the house. We were cold and hungry. And you know what's my comfort food on a cold, snowy day? Hot, buttered toast! Nothing can make me feel as good. So aunty put the griddle on and liberally coated it with butter, placing two slices of bread to crispen to that beautiful gold. 
When she flipped it over to the other side, I thought we were almost done. But, nope! She had an ace up her sleeve. She dolloped on some cheese spread and let it just melt into the crisping toast. Dotted with ketchup. And then judging my impatience correctly, let me wolf it down straight from the pan.
I waited for the salty, slightly plastic cheesiness of store bought spread to hit my tastebuds. But instead was surprised by subtle flavours so generously complimenting the creamy goodness that could only come with homemade love!
It was so good, I wolfed down six toasts before my foodie brain could form the words, " May I have the recipe, please?"
That was 12 years ago, and I still slather this spread with the same reverent wonder. For me it has the same joy as my grandma's home made white butter. Another dairy addition to my toast I can't get enough of!
Another good thing about this cheese spread is that it sneakily incorporates the wholesome nutrients that  growing tots may screechingly run from. But ever know a kid to turn down cheese and toast? Nope! So say hello to our hidden superfood friends- Almonds and Garlic. Even Keto Hubby gave the spread a big thumbs up! It was just the thing he needed to jazz his Keto Bread :)
So I'll go steal a spoonful from the jar, while you go whip up your own batch of yummy health.


Ingredients:
Cheese           200 gm (grated)
Cream            1/2 cup
Milk               1 cup
Almonds        20
Vinegar          1 tsp
Sugar             1 tsp
Red Chillies   5
Garlic             5
Pepper           1/4 tsp

Method:
Soak the almonds and red chillies for half an hour. De-seed the red chillies. Remove the skin from the almonds and discard the water. Run the almonds, chillies and garlic in the mixie to make a coarse paste. Add the rest of the ingredients and blend till smooth. Refrigerate and use within a week.

Notes:
I used fresh cream (malai) skimmed off the top of our milk. You can use packaged cream as well. 
Since the chillies are soaked and de-seeded, they are not spicy and are mild enough for kids. You can however reduce the chillies if you like.
For the Keto version replace the sugar with Stevia. 

Tuesday, April 4, 2017

Keto Bread

A low carb, gluten free bread? It never did sound appetizing to me. But then Hubby darling went Keto, and our entire carb approach was tossed into the can. Adapting existing recipes to fit Keto was not as tricky as most fear. Infact as Keto became norm, exciting new twists were born of old classics. 
And though he loved his rice and parathas, hubby didn't quite miss them as much as he had expected. It really was a win win for him.
There was one thing he did miss. While never a fan of regular sliced bread, he had started to crave toast. Who wouldn't when your breakfast is bacon and eggs sunny side up. After all, you need something to mop up all that gooey goodness! Thus was born the need to experiment with a keto friendly bread.
Now the most popular keto breads are almond flour based. Though delicious, almonds aren't quite budget friendly. Every keto forum had people moaning about increased dents in the pocket. So I figured let's do a keto bread that won't break the bank.
I scoured the net for dozens of recipes and finally found my inspiration here. I tweaked it a little so i wouldn't have to make a store run. A few easy steps and surprisingly I got gorgeous golden bread!

nuttyaboutfood.com

Ingredients:
Eggs                                             6
Dessicated Coconut Powder        3/4 cup
Flax Seed (Powdered)                   3/4 cup
Salt                                               1 tsp
Baking Powder                             1 tsp
Psyllium Husk                              4 tablespoons
Baking Soda                                  1/2 tsp
Warm Water                                   1/2 cup
Apple Cider Vinegar                      1 tablespoon
Oregano (optional)                         1 tsp

Method:
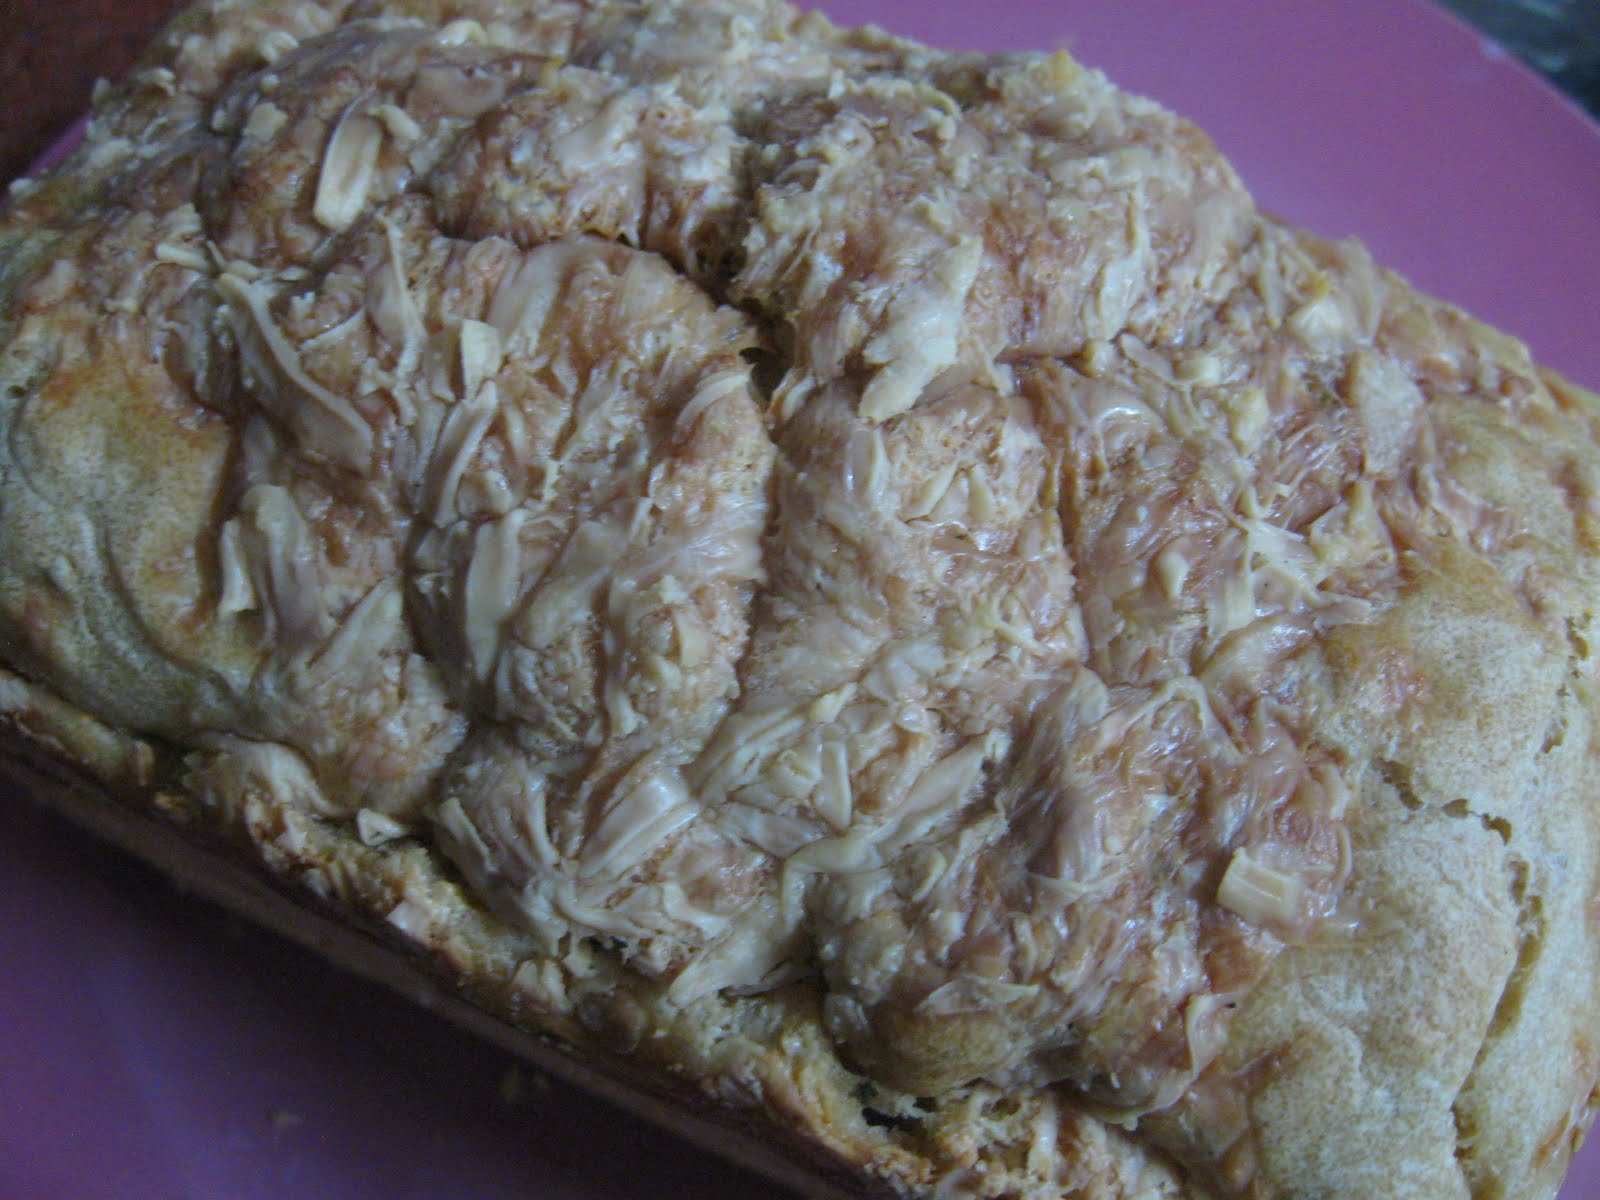
Whisk together all the dry ingredients, except oregano. Add the wet ingredients and mix well. Put it in the fridge while you preheat the oven to 180 C. Grease a rectangular baking pan. I used a 13x6. Bring out the batter. Give it a good mix and pour into the dish. Top with crushed oregano. Bake for 40 minutes on a low rack. Cool and slice into 14 squares. It stays happily refrigerated for upto two weeks. Bring out a slice or two. Grill them, toast them, pan fry  them or simply slather cold with some cream cheese and fix that bread craving!

nuttyaboutfood.com

Tuesday, March 15, 2016

Orange Whiskey Marmalade

The markets are flooded with oranges. All shapes, sizes and sweetness. Tempting you with their fresh, springtime aroma. Tempting enough for hubby to haul home an entire crate! Its been a week, and there they lie, begging to be devoured.
Unfortunately, the only fruit enthusiast at our place is the monster munchkin. And frankly, I am terrified he'll choke on the pips. And no, I am far too lazy to sit patiently and peel and de-seed the segments. Let him be content with kiwis, plums and berries for now.
That still leaves me with a crateful of oranges that no one wants to eat. Its not warm enough for a fruit salad or even juiced oranges, so I decided to take the route less travelled. Do I dare to attempt marmalade?
My past efforts at jam making have always resulted in mushy, oversweet pulp. Do I dare subject these vibrant citrus to what may result in another failed attempt? Aah! But you already know the answer to that! I dared!
I dared and am I glad I did! I am always a sucker for good marmalade. But good home made marmalade? Sheer heaven! And I thought to myself, if I am going to dare, why not take it a step further? Even if it meets a disastrous end, I have a warm cocktail to drown my defeat! So now I present, not just any marmalade. But an easy, super delicious home made Orange Whiskey Marmalade!


Ingredients:
Oranges       1.5 kg
Sugar           1.2 kg
Lemon         1
Whiskey      150 ml
Water          6 cups

Method:
Wash and halve the oranges. Juice them using a citrus juicer. Slice the empty peels into thin strips, discarding any pips you may find.  Place an empty saucer in the freezer to chill.  In a heavy bottomed pan, throw in the sliced peels, the strained orange juice and the water. Bring to a boil. Reduce the heat to the lowest setting, cover and cook for about 30 minutes, Once the peel turns translucent and soft, add the sugar and lemon. Stir till the sugar is dissolved. Let the mixture come to a boil again and then continue to simmer, stirring every ten minutes, After about 50 minutes, the mixture will start becoming translucent and jelly like. Bring out the chilled saucer and place a drop of the orange mix. Return the saucer to the freezer, After three minutes, push the chilled drop on the saucer. If it wrinkles, the marmalade is ready. If it is still liquid and sliding, let the mix cook for another three minutes before testing on the chilled saucer again. Once the marmalade is ready, turn off the heat and stir in the whiskey. Pour into sterilized glass jars and allow to cool to room temperature before putting the lids on. Store in a cool place, or refrigerate for upto six months. 
Go ahead and dare today! Hey! If I could finally break my jam jinx, so can you!


Saturday, March 5, 2016

Carrot and Raisin cake

The monster munchkin has turned two! There were days that never ended, and yet when I look back time seems to have just flown. Parenting hasn't gotten easier, just the challenges have changed. Just when I thought I had figured it out, the munchkin will throw a curveball my way. Mum rolls her eyes when I mention it. Her grandkid is an angel and I am the monster!
One thing that hasn't changed, is my obsession to provide him balanced, nutritional meals. And this includes sweet indulgences. Luckily he hasn't taken to chocolates and sugar laden treats like his dear ol' mum! Last birthday he was indulged with a blueberry yogurt cheesecake. And now it is the year of the super healthy Carrot and Raisin Cake. Now scoff all you like. I did too. But surprisingly, it was delicious. And the monster munchkin actually asked for seconds! Guilt free indulgence on his birthday? Hey! Why turn him down?!
So give this kid friendly recipe a go. Duly endorsed by an ecstatic two year old :)

Ingredients:
Carrots                                2, large
Soft Brown sugar               3/4 cup
Eggs                                   2
Butter                                 1/2 cup, melted
Whole Wheat Flour           1 1/4 cup
Baking Powder                  1 teaspoon
Baking Soda                      1/2 teaspoon
Milk                                   1/4 cup
Cinnamon powder             1/4 teaspoon
Clove powder                    1/4 teaspoon
Nutmeg powder                 1/4 teaspoon
Ginger powder                   1/4 teaspoon
Raisins                                1 cup

Method:
Pre-heat the oven to 180 C. Run the eggs and carrots in a food processor till the carrots are finely chopped. Add butter and sugar. Process again till well blended. Pour into a bowl and fold in the rest of the ingredients. Bake in 9x5 inch loaf tin for 45-50 mins. Serve up a slice of health and happiness.


Friday, August 28, 2015

Beer Bread

There is something about baking bread that scares even the most seasoned baker. Well, most breads are quite unforgiving. You have to get the quantities just right, proof the yeast, allow it to rise just so..too much and it will be just air pockets, too little and it will be stone... you have to punch, proof, punch again. A rather long and tedious process that may still leave you with results, well, deflated!

This is where Beer Bread comes in. It is a simple, no fuss bread. Like having drinks with your bumchum in pajamas. Effortless! No complicated ingredients or steps, and with a guarantee of success. Don't take my word for it. Just chuck it all in and surprise your folks with some freshly baked bread this weekend. 


Ingredients:
Flour                        3 cups
Baking Powder        4 1/2 teaspooons
Brown Sugar           3 tablespoons
Salt                          1/2 teaspoon
Beer                         1 and 1/2 cup
Butter                       1/4 cup, melted

Method:
Preheat the oven to 180 C. Sift the flour, salt and baking powder together. Thrice. Now that the tough part is over, mix in the rest of the ingredients. Pour into a greased 9x5 inch loaf tin. Top up with some grated cheese if you like. Bake for 50 minutes. Rest for another 15 minutes or so. Turn it out and dazzle!

Wednesday, August 19, 2015

Sheera

Sheera is semolina based dessert that is also known as Sooji ka halwa in the northern parts of India, and is  a close cousin of the southern Kesari. This recipe originates from Maharashtra and differs from the others by its use of milk instead of water. 

Sheera is quite a filling and healthy dish so its often eaten for breakfast or as a weaning meal for babies. As for me, I can eat Sheera anytime, especially when I see the raindrops batter my window and fill the room with the scent of the earth.
This recipe is my granny’s who definitely makes the best Sheera in the world!


Ingredients:

Semolina     1 cup
Ghee           ½ cup
Milk            1 cup, warmed
Sugar           ¾ cup
Banana        1

Method:
Heat the ghee in a wok. Add the semolina and roast till golden. Stirring continuously, add the milk in a slow and steady stream. Cook for a minute and lower the flame. Add the sugar and mashed banana. Mix thoroughly and cover with a lid. Let it cook for another minute. Uncover, mix and cover again. Cook for another minute and switch off the gas. The grains should have separated and lost their stickiness. If not, cook covered on a low flame for another minute. And your sheera is ready to be devoured!
For additional flavour and nutrition, you could add green cardamom powder and garnish with chopped nuts.


Friday, August 31, 2012

Roasted Banana Cake

Bananas are not really on top of everyone's favorite fruit list, but they are an excellent source of potassium and energy. Inundated with a surplus of bananas recently, i turned to my irresistible creation: the Roasted Banana Cake. It is a recipe developed over years of experimentation, and its temptingly perfect :) 

You will need:
Ing:

3/4 cup butter
3/4 cup sugar
2 eggs
1 and 3/4 cup flour
1/4 cup fine semolina
1 tsp baking pd
1 tsp baking soda
pinch salt
1tsp vanilla extract
4 bananas
1/2 tsp cinnamon pd
1/2 tsp clove pd
1/2 cup brown sugar
5 tsp dark rum
1/2 cup hot water

Method: Slice bananas thickly and place on a square sheet of aluminium. sprinkle with the brown sugar, vanilla, rum and spices. wrap into a loose package and bake at 180 C for 15 minutes.

cool and mash roughly. beat together the butter, eggs and sugar till light and fluffy. Add the banana mix. sift the baking pd , flour and salt and fold into the batter alongwith the semolina. mix the baking soda with the hot water and add last to the batter. pour into a greased 6 egg cake tin and bake in a pre-heated oven at 180 C for 35-40 minutes.


Saturday, June 23, 2012

Tossed- Up Spaghetti

When i read this recipe in GoodFood India, I couldn't resist trying it immediately... the vibrant colours and fresh flavours enticingly beckoned me and i just couldn't resist!!! So here's another recipe to liven up your summer lunch... the TOSSED -UP SPAGHETTI requires:

Ingredients: 
Spaghetti- 400 gm
Red Onion- 1, finely chopped
Lemon- 1, zest and juice
Capers- 4 tsp
Extra Virgin Olive Oil- 6 tbsp+ extra to drizzle
Red chilli- 1, finely chopped
Sugar- a pinch
Chives- handful, snipped
Cherry Tomatoes- 500 gm, quartered
Bocconcini- 250 gm, torn
Mint- 1 bunch, leaves torn.


Method: Marinate the chopped onions in the lemon juice, zest, salt and pepper. Leave aside for 10 minutes, till the onions sweat and soften. Add the capers, oil, chilli and sugar to the onion mix. Adjust seasoning. Boil the spaghetti, drain, toss with a little olive oil and cool. Mix in the onion dressing, tomatoes and half of the fresh herbs. Adjust seasoning and toss well. Chuck in the Bocconcini and toss gently through the pasta. Divide into bowls, drizzle a little olive oil and top with rest of the fresh herbs. Serve with a chilled glass of Proseco on a warm summer afternoon :)


Monday, August 29, 2011

Cheelas

Protein packed Indian style pancakes....well, that's a mouthful to say! So, lets jus stick to the Indian name: Cheela.
Generally a dish found in the northern part of the country, it is similar in looks and preparation to a breakfast favorite down south! The only real difference lies in the ingredients, thus changing the taste slightly. Cheelas are quite filling and can be eaten for any meal, though the Indian tendency is to have it either as a snack or for breakfast.
Here's the ingredients you'll need to make

CHEELA:
1 cup whole green mung (soaked for a couple of hours)
2 1/2 tsp dry mango powder
1 green chilly (finely chopped)
1/2 tsp coriander powder
salt to taste

Method: Grind the soaked mung beans with a little water. Add the seasoning and enough water to make a batter of pouring consistency, slightly thicker than a pancake batter.


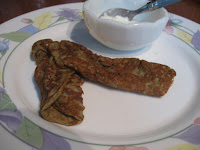
Grease a hot griddle and drop a tablespoon of batter onto it. Spread it in a circular manner, going as thin as you dare! The thinner the layer, the crisper and quicker it will cook. cover with a lid and cook till golden on one side. Flip and cover and cook the other side as well. Fold carefully and serve with chilled, plain yogurt.


To really jazz it up, you could stuff it with a cottage cheese filling or a fresh veggie salad! But I love it just the way it is, straight off the griddle!


Monday, August 15, 2011

Savoury Sago

Sago are little pearls of starch, called Sabudana in India and often used interchangeably with Tapioca. While in most parts of the world, Sago is often dished up as a sweet, sticky pudding, India has a tastier alternative as well.
So today, my kitchen is dishing up a savoury version of sago. Or as we call it,

SABUDANA KHICHDI

Ingredients you will need:

Sago - 1 cup
Roasted Peanut powder - 1 and 1/2 cup
Green Chillies - 3 (roughly chopped)
Oil - 1 tsp
Cumin seeds - 1/2 tsp
Salt - to taste
Sugar - a pinch

So lets start by washing the sago with boiling water. Do it a couple of times, drain and keep aside. When it swells and softens, it is ready to use!
Mix the peanut powder with the softened sago and separate the sticky sago grains as you go along. (You may have to get your hands dirty for this!)
Heat oil in a wok and throw in the cumin. When it splutters, add the green chillies and fry lightly.
Now add the sago-peanut mix and toss it all around.
Add the salt. Mix well. Lower the heat and cover.
Let it cook for 10 minutes, stirring constantly in between.
How do you know its done? Well, when the colour darkens, the grains separate and lose their stickiness, and the whole mixture leaves the side of the pan...you know you are good to go.
Jus toss in the sugar and serve piping hot!!


You can enjoy it with some chilled plain yogurt, or just as is. And if you wanna add a little extra punch, jus throw in a diced, boiled potato while d chillies cook and follow through the same as the above.